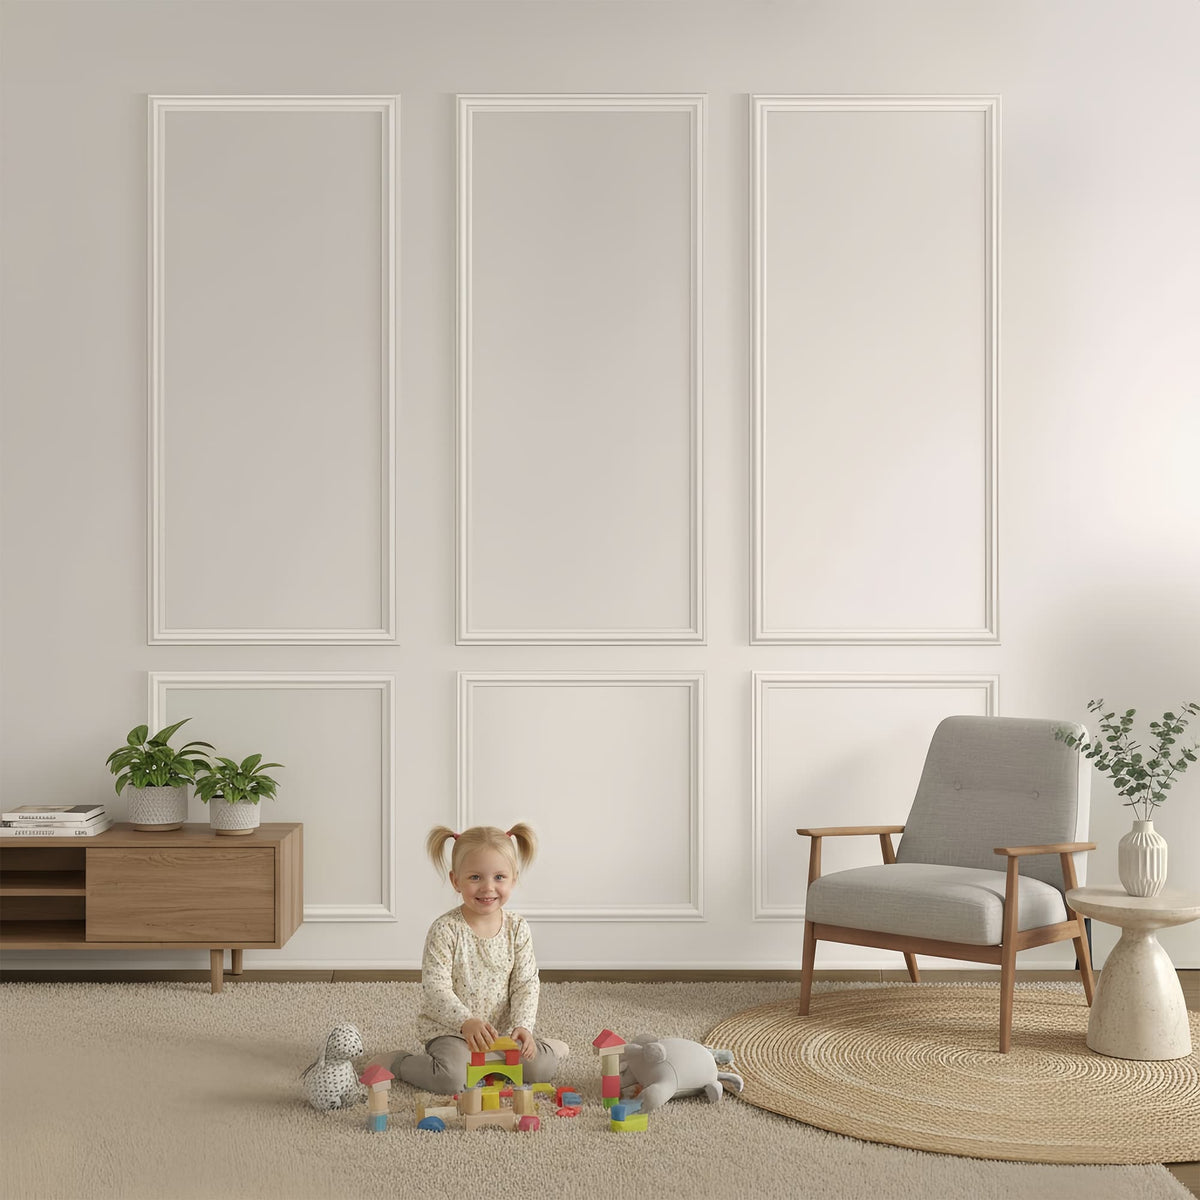
There are weekends when you want to tackle a proper home improvement project, and then there are Tuesday evenings when you just want something to look better before dinner. Self adhesive wall trim exists for those Tuesday evenings. This clever product strips away almost every messy, time-consuming step of traditional molding installation—no adhesive tubes to squeeze, no nail guns to wrestle, no drying time to wait through. Instead, you get flexible trim pieces with a pressure-sensitive backing that bonds firmly the moment you press it against the wall. For renters, this is freedom. For busy homeowners, this is sanity. For anyone who has ever looked at a blank wall and wished for architectural detail without the architectural hassle, self adhesive trim delivers exactly that. The installation is so clean that you could theoretically do it while wearing your work clothes, and the results are substantial enough to fool anyone into thinking you spent a weekend on the project.
Understanding the Different Types of Self Adhesive Trim
Not all self adhesive trim is created equal, and understanding the differences saves you from buying something that will peel off your walls within a month. The most common type uses a foam core wrapped in a smooth vinyl or polyurethane skin, which makes the trim lightweight and flexible enough to navigate corners without cracking. These foam-based trims are excellent for curved walls or arched doorways because they bend without protest. The second type uses solid polyurethane with a pre-applied acrylic foam tape, offering more durability and a more convincing wood-like feel under your fingers. These are stiffer and better suited for straight runs where you want crisp, sharp lines. The adhesive itself varies as well. Cheaper trims use a general-purpose double-sided tape that struggles with temperature changes, while premium options use construction-grade acrylic foam tape originally developed for attaching automotive trim. That car-grade adhesive holds up to humidity, heat, and the occasional bump from a vacuum cleaner far better than the budget alternatives.
 ## Where Self Adhesive Trim Works Best and Where to Avoid It
Self adhesive trim is a wonderful product within its comfort zone, but pushing it beyond that zone leads to disappointment. It thrives on smooth, clean, well-painted drywall in temperature-controlled rooms. Living rooms, dining rooms, bedrooms, and home offices are perfect candidates. The trim also performs admirably on smooth tile or glass, making it a clever choice for adding personality to a boring bathroom mirror or a plain glass shower enclosure. Where self adhesive trim struggles is on textured walls, unsealed surfaces, or anywhere with direct water exposure. Orange peel or knockdown texture reduces the contact area between tape and wall by as much as fifty percent, and the trim will eventually let go. Similarly, exterior walls or uninsulated spaces where temperatures swing dramatically will test the adhesive beyond its limits. And despite what some packaging claims, do not install this trim inside a shower stall. The combination of constant moisture, heat, and direct water spray will defeat even the best acrylic tape within weeks.
Surface Preparation That Takes Fifteen Minutes
The temptation to peel and stick immediately is overwhelming, but resisting that urge for a quarter hour of prep work determines whether your trim stays up for years or falls down tomorrow. Start by wiping the wall thoroughly with isopropyl alcohol or a dedicated surface cleaner that leaves no residue. Household cleaners often contain lotions or fragrances that interfere with adhesive bonding, so stick with plain alcohol or a product specifically labeled for surface preparation. Once the wall is clean and completely dry, run your bare hand over the area. If you feel any dust, roughness, or flaking paint, address it before proceeding. A light sanding with 220-grit sandpaper knocks down minor bumps, and a fresh coat of primer fixes flaking paint. Finally, and this step is crucial, press a piece of the included tape to an inconspicuous spot and yank it off firmly. If the paint comes with it, your wall has poor paint adhesion, and self adhesive trim will pull off more paint every time it is removed. That wall needs a fresh coat of quality primer before you attempt any adhesive installation.
Cutting and Joining Trim for Professional Looking Corners
One of the best features of self adhesive wall trim ↗ is that it cuts with nothing more coplicated than a sharp utility knife and a steady hand. For straight cuts, score the trim firmly along your measured line, then bend the trim backward to snap it cleanly along the score. For forty-five-degree miter cuts, use a small miter box or simply mark the angle with a carpenter’s square and cut carefully with repeated light passes of the knife. Inside corners where two pieces meet are actually easier than outside corners. Simply butt the first piece into the corner, then cut the second piece to end flush against the face of the first piece. This creates a clean overlap that reads as a mitered corner from across the room. Outside corners require more precision. Cut both pieces at forty-five degrees, then press them together at the corner, using a corner block or a small square of trim to hide any gap if your cuts are not perfect. Do not stress about tiny imperfections. Caulk hides a multitude of sins, and the low profile of self adhesive trim makes gaps far less noticeable than with thick wooden molding.
The Actual Installation Process Step by Step
Once your wall is prepped and your pieces are cut, the installation moves quickly enough that you might finish before your tea gets cold. Peel back about two inches of the adhesive liner at one end of the trim, exposing the sticky surface. Press that exposed end firmly against your marked layout line, then slowly pull the remaining liner away as you work your way down the length of the piece. Use your other hand to press the trim into place immediately behind the peeling liner, working in six-inch sections. This method prevents the exposed adhesive from picking up dust or folding onto itself. After the entire piece is on the wall, go over every inch with a seam roller or the back of a wooden spoon, applying firm pressure to ensure full contact. For best results, do not handle the trim more than necessary after peeling the liner, because the oils from your fingers reduce adhesive effectiveness. Work piece by piece, checking alignment constantly, and do not try to reposition a piece once it has made full contact. The bond is immediate and repositioning usually damages both the trim and the wall.
 ## Painting Self Adhesive Trim Without Causing Problems
Most self adhesive trim arrives in white or off-white, but that does not mean you are stuck with that color. However, painting these trims requires more care than painting traditional wood molding. Use only water-based latex paint, because oil-based paints contain solvents that can soften the foam core or attack the adhesive through the trim’s surface. Apply the first coat very lightly, almost a dry brush technique, and let it cure for a full twenty-four hours before adding a second coat. Heavy, wet paint can seep into the edges of the adhesive and compromise the bond. Avoid using painter’s tape directly on the trim to mask off adjacent walls, because removing the tape often pulls the trim off with it. Instead, cut in carefully with a small angled brush. And never, under any circumstances, use a heat gun or hair dryer to speed drying. Heat is the one reliable way to soften acrylic adhesive and send your carefully installed trim sliding down the wall. Patience with cool, air-dried paint keeps everything firmly in place.
Removing the Trim Cleanly When You Move or Change Styles
The reversible nature of self adhesive trim is its greatest gift to renters and serial redecorators, but removal requires technique to avoid wall damage. Start by warming the trim gently with a hair dryer on its lowest setting, holding it about six inches from the surface and moving constantly. Never focus the heat on one spot for more than a few seconds. Once the adhesive feels slightly tacky, slip a plastic putty knife or a flexible drywall knife behind one end of the trim and apply slow, steady pressure. The trim should release gradually, leaving most of the adhesive on the back of the trim rather than on the wall. Any residue left behind comes off easily with a citrus-based adhesive remover, rubbing alcohol, or even a simple pencil eraser for small spots. If the wall paint shows any signs of lifting, stop warming and try a different angle of removal. Patience here saves you from patching and repainting. The whole removal process for an average sized accent wall takes about twenty minutes, which is astonishing when you consider that removing traditionally installed molding can take an entire day and still leave holes to patch.